C.S.A. Week 7 August 7th/8th

We reluctantly set up irrigation last week as plants have gotten big, and the sky has stayed clear. Usually we set up irrigation in June, but with the intensely rainy spring there has been no need. To be fair, we did have hoses running out to our greenhouse and have been watering that off the house well since the plants went in, as the greenhouse receives no natural rain water. We did really enjoy the 2 months off from watering the rest of the garden. We set up a gas pump down by the pond, and although not a big deal, it is just one more chore added to the weekly list, refilling and keeping everything on some kind of watering schedule. We primarily use drip irrigation. A large line runs from our pump to “header lines” at the top of every garden, and then each bed has 1-2 drip lines running down the length of it. The drip irrigation does a much superior job to sprinklers, using much less water and soaking deep down to the roots where the plants need it. This time of year especially, drip is preferred, as wet leaves from overhead irrigation can lead to mold and fungus problems on the plants.

In the share:

  • Cherry Tomatoes

  • Tomatoes

  • Summer Squash/Zucchini

  • Green Sweet Peppers

  • Kohlrabi

  • Carrots

  • Bibb lettuce

  • Cucumbers

Cherry Tomatoes/Corn Salad

(We don’t grow corn, ask us why if you want to know, but we’re sure you can find some to go with our delicious cherries!!!)

  • 1/4 cup minced fresh basil

  • 3 tablespoons olive oil

  • 2 teaspoons lime juice

  • 1 teaspoon sugar

  • 1/2 teaspoon salt

  • 1/4 teaspoon pepper

  • 2 cups frozen corn, thawed

  • 2 cups cherry tomatoes, halved

  • 1 cup chopped seeded peeled cucumber

In a jar with a tight-fitting lid, combine the basil, oil, lime juice, sugar, salt and pepper; shake well.

In a large bowl, combine the corn, tomatoes and cucumber. Drizzle with dressing; toss to coat. Refrigerate until serving.

IMG_3144.JPG

C.S.A. Week 6 July 31st/Aug 1st

We have been at this spot in Cornish building our farm for just about five years now. Its been a slow process of expanding gardens and adding infrastructure we need to make our farming lives easier and more efficient. This list of finished projects is proudly growing longer, and although it has felt like slow growth in the moment, looking back it really feels amazing what we didn’t start with. This summer a relatively minor but important project has been our wash station. Every Wednesday and Friday we harvest a significant amount of food, and having a shady well set up space for cleaning and packing the food is essential. After several years of just using a spot in the yard or an unattractive tarp setup next to the garage we decided to turn an overhang off of the back of animal barn into our new space. This was a sitting porch we found we rarely used. We ripped up the porch floor boards last fall and were able to repurpose them into the wall of our tractor shed, and Kyle spent a couple of long days digging out the dirt and adding buried drainage pipes leading away from the wash station and into a now underground pit lined with landscape fabric and filled with crushed stone. The wash station itself also got dug out, lined and filled back in with stone, so we have a dry area to work on that can handle absorbing a lot of water. Like many big projects much of the work becomes invisible in its finished state, as now all the drainage lines have been covered over with soil and re-seeded to grass. The final touches will be made this fall, adding an adjacent door that will lead to our walk in cooler for easy access, and some permanent hosing coming down off the walls into wash buckets.

In the share:

  • Eggplant

  • Broccoli

  • Cucumbers

  • Green Cabbage

  • Basil

  • Green Beans

  • Kale

  • Cherry Tomatoes

IMG_2998.JPG
IMG_2993.JPG

C.S.A. Week 5 July 24th/25th

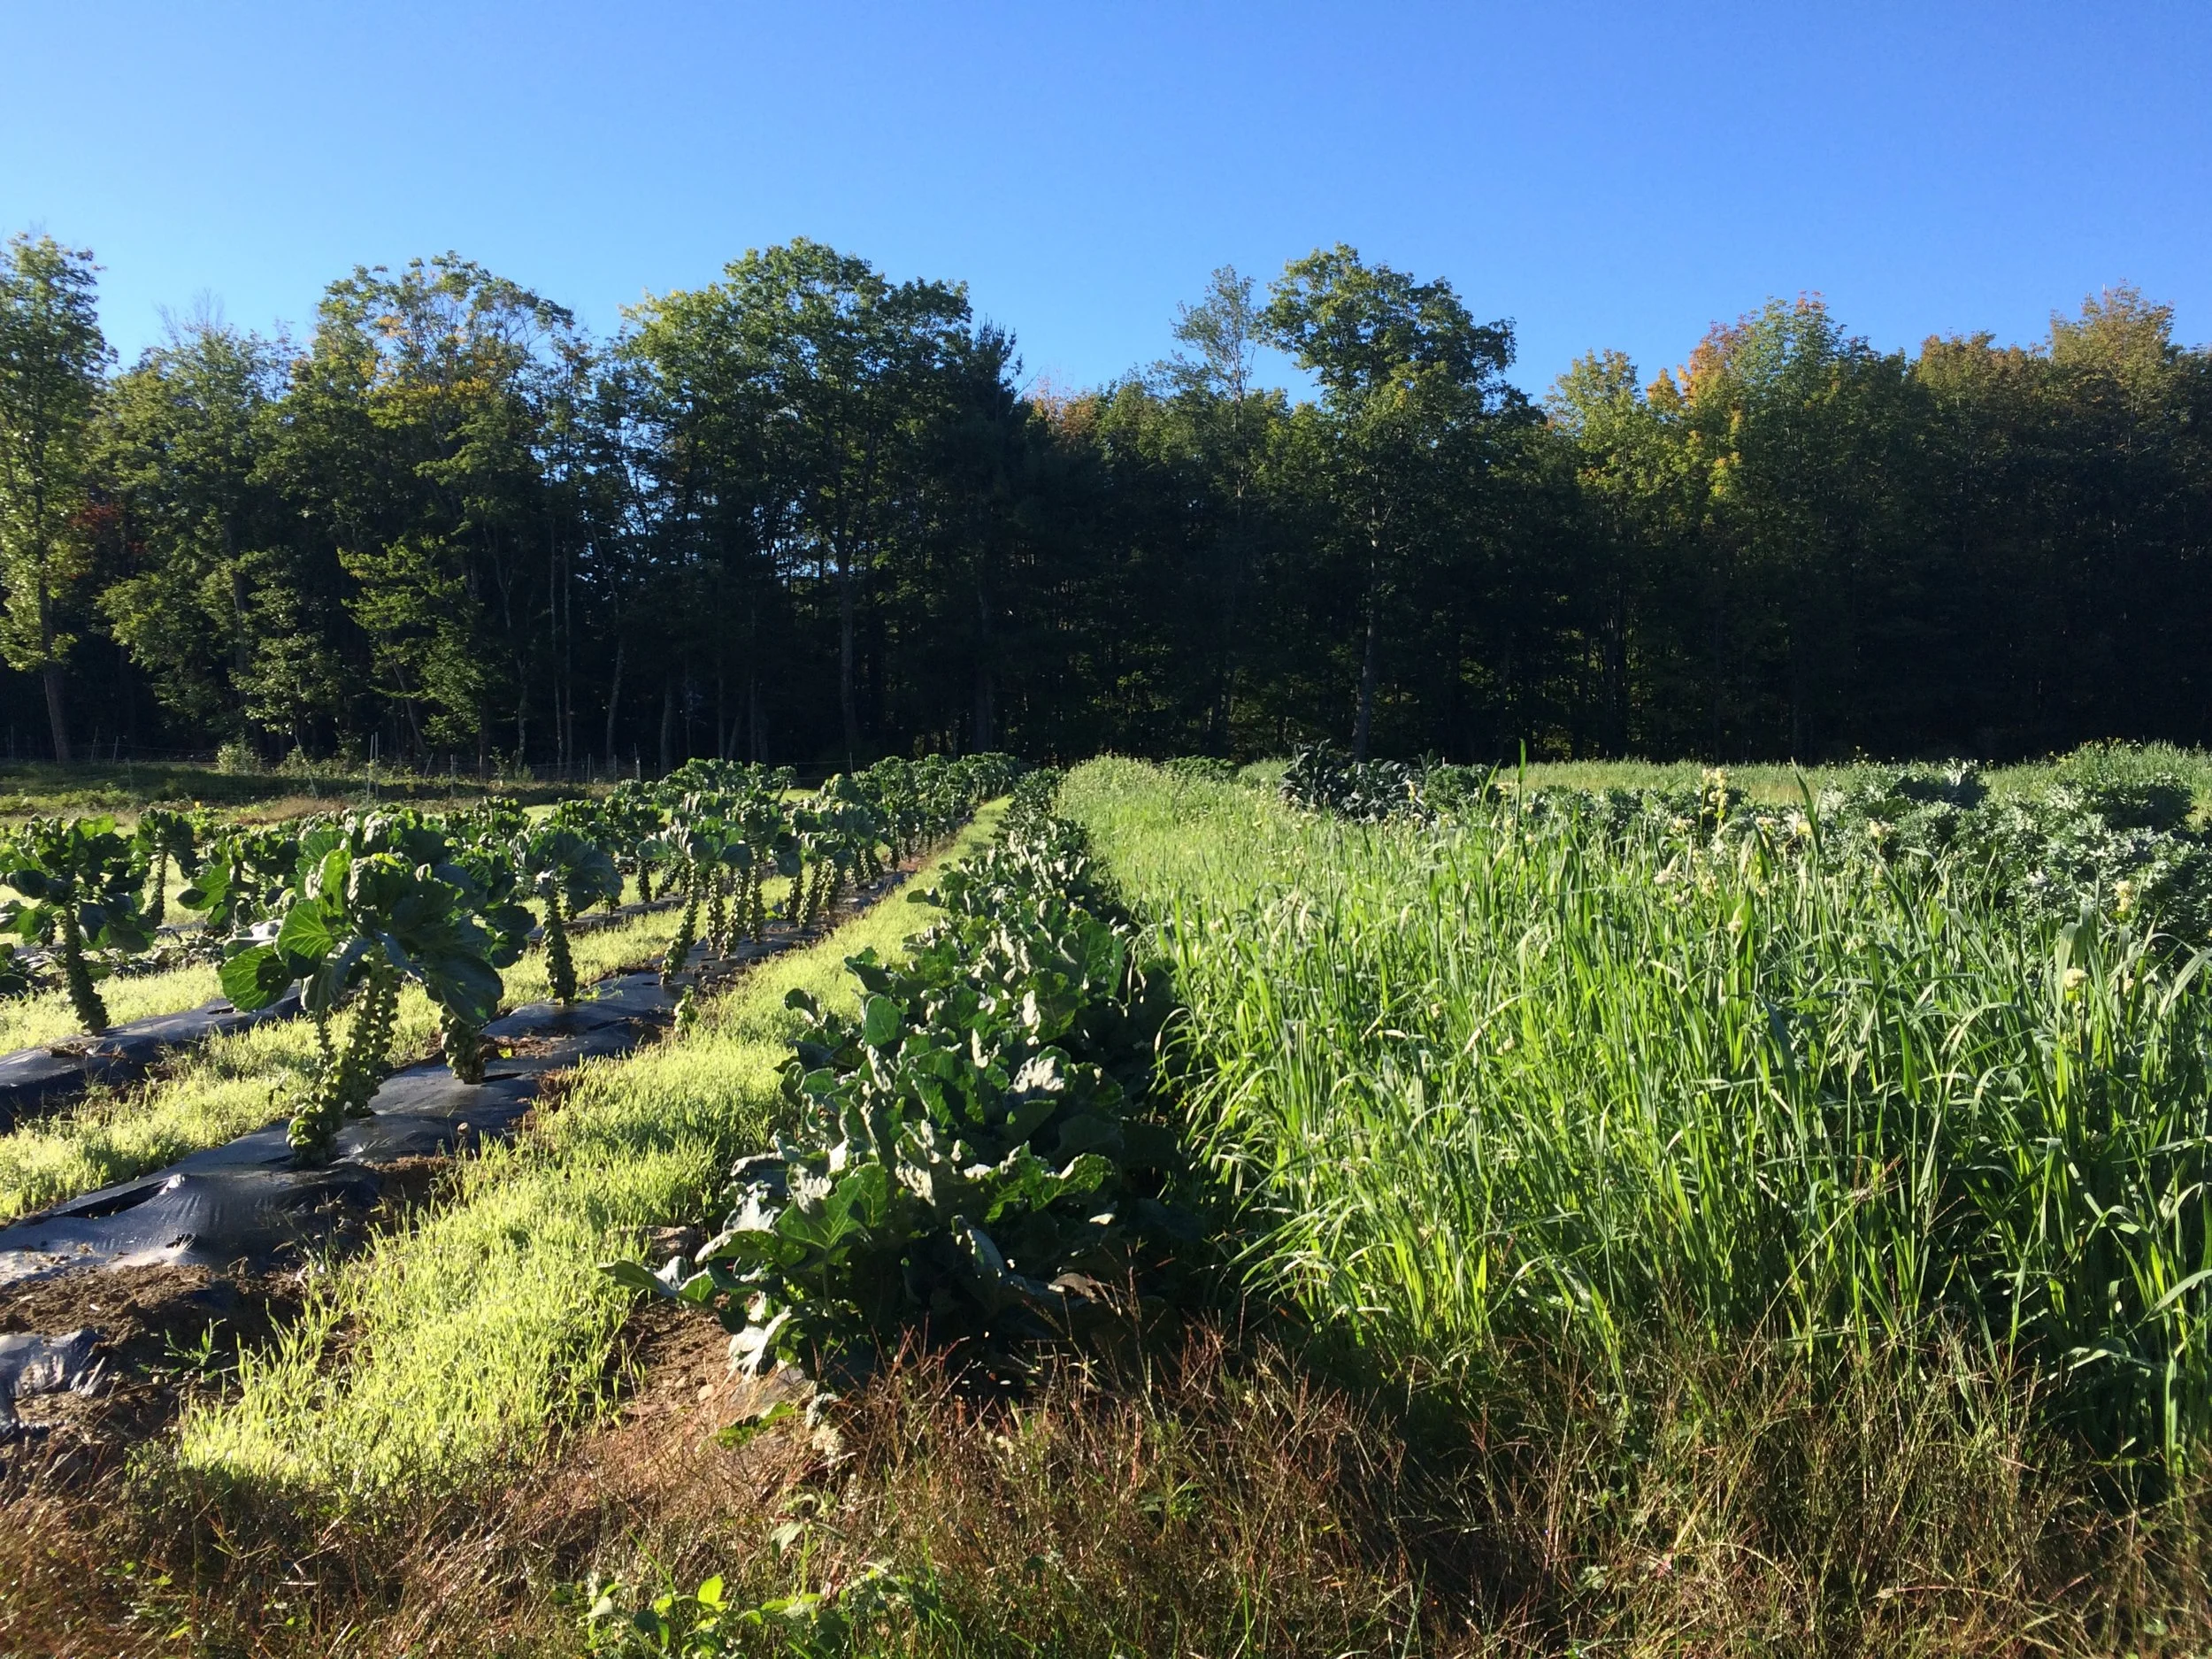
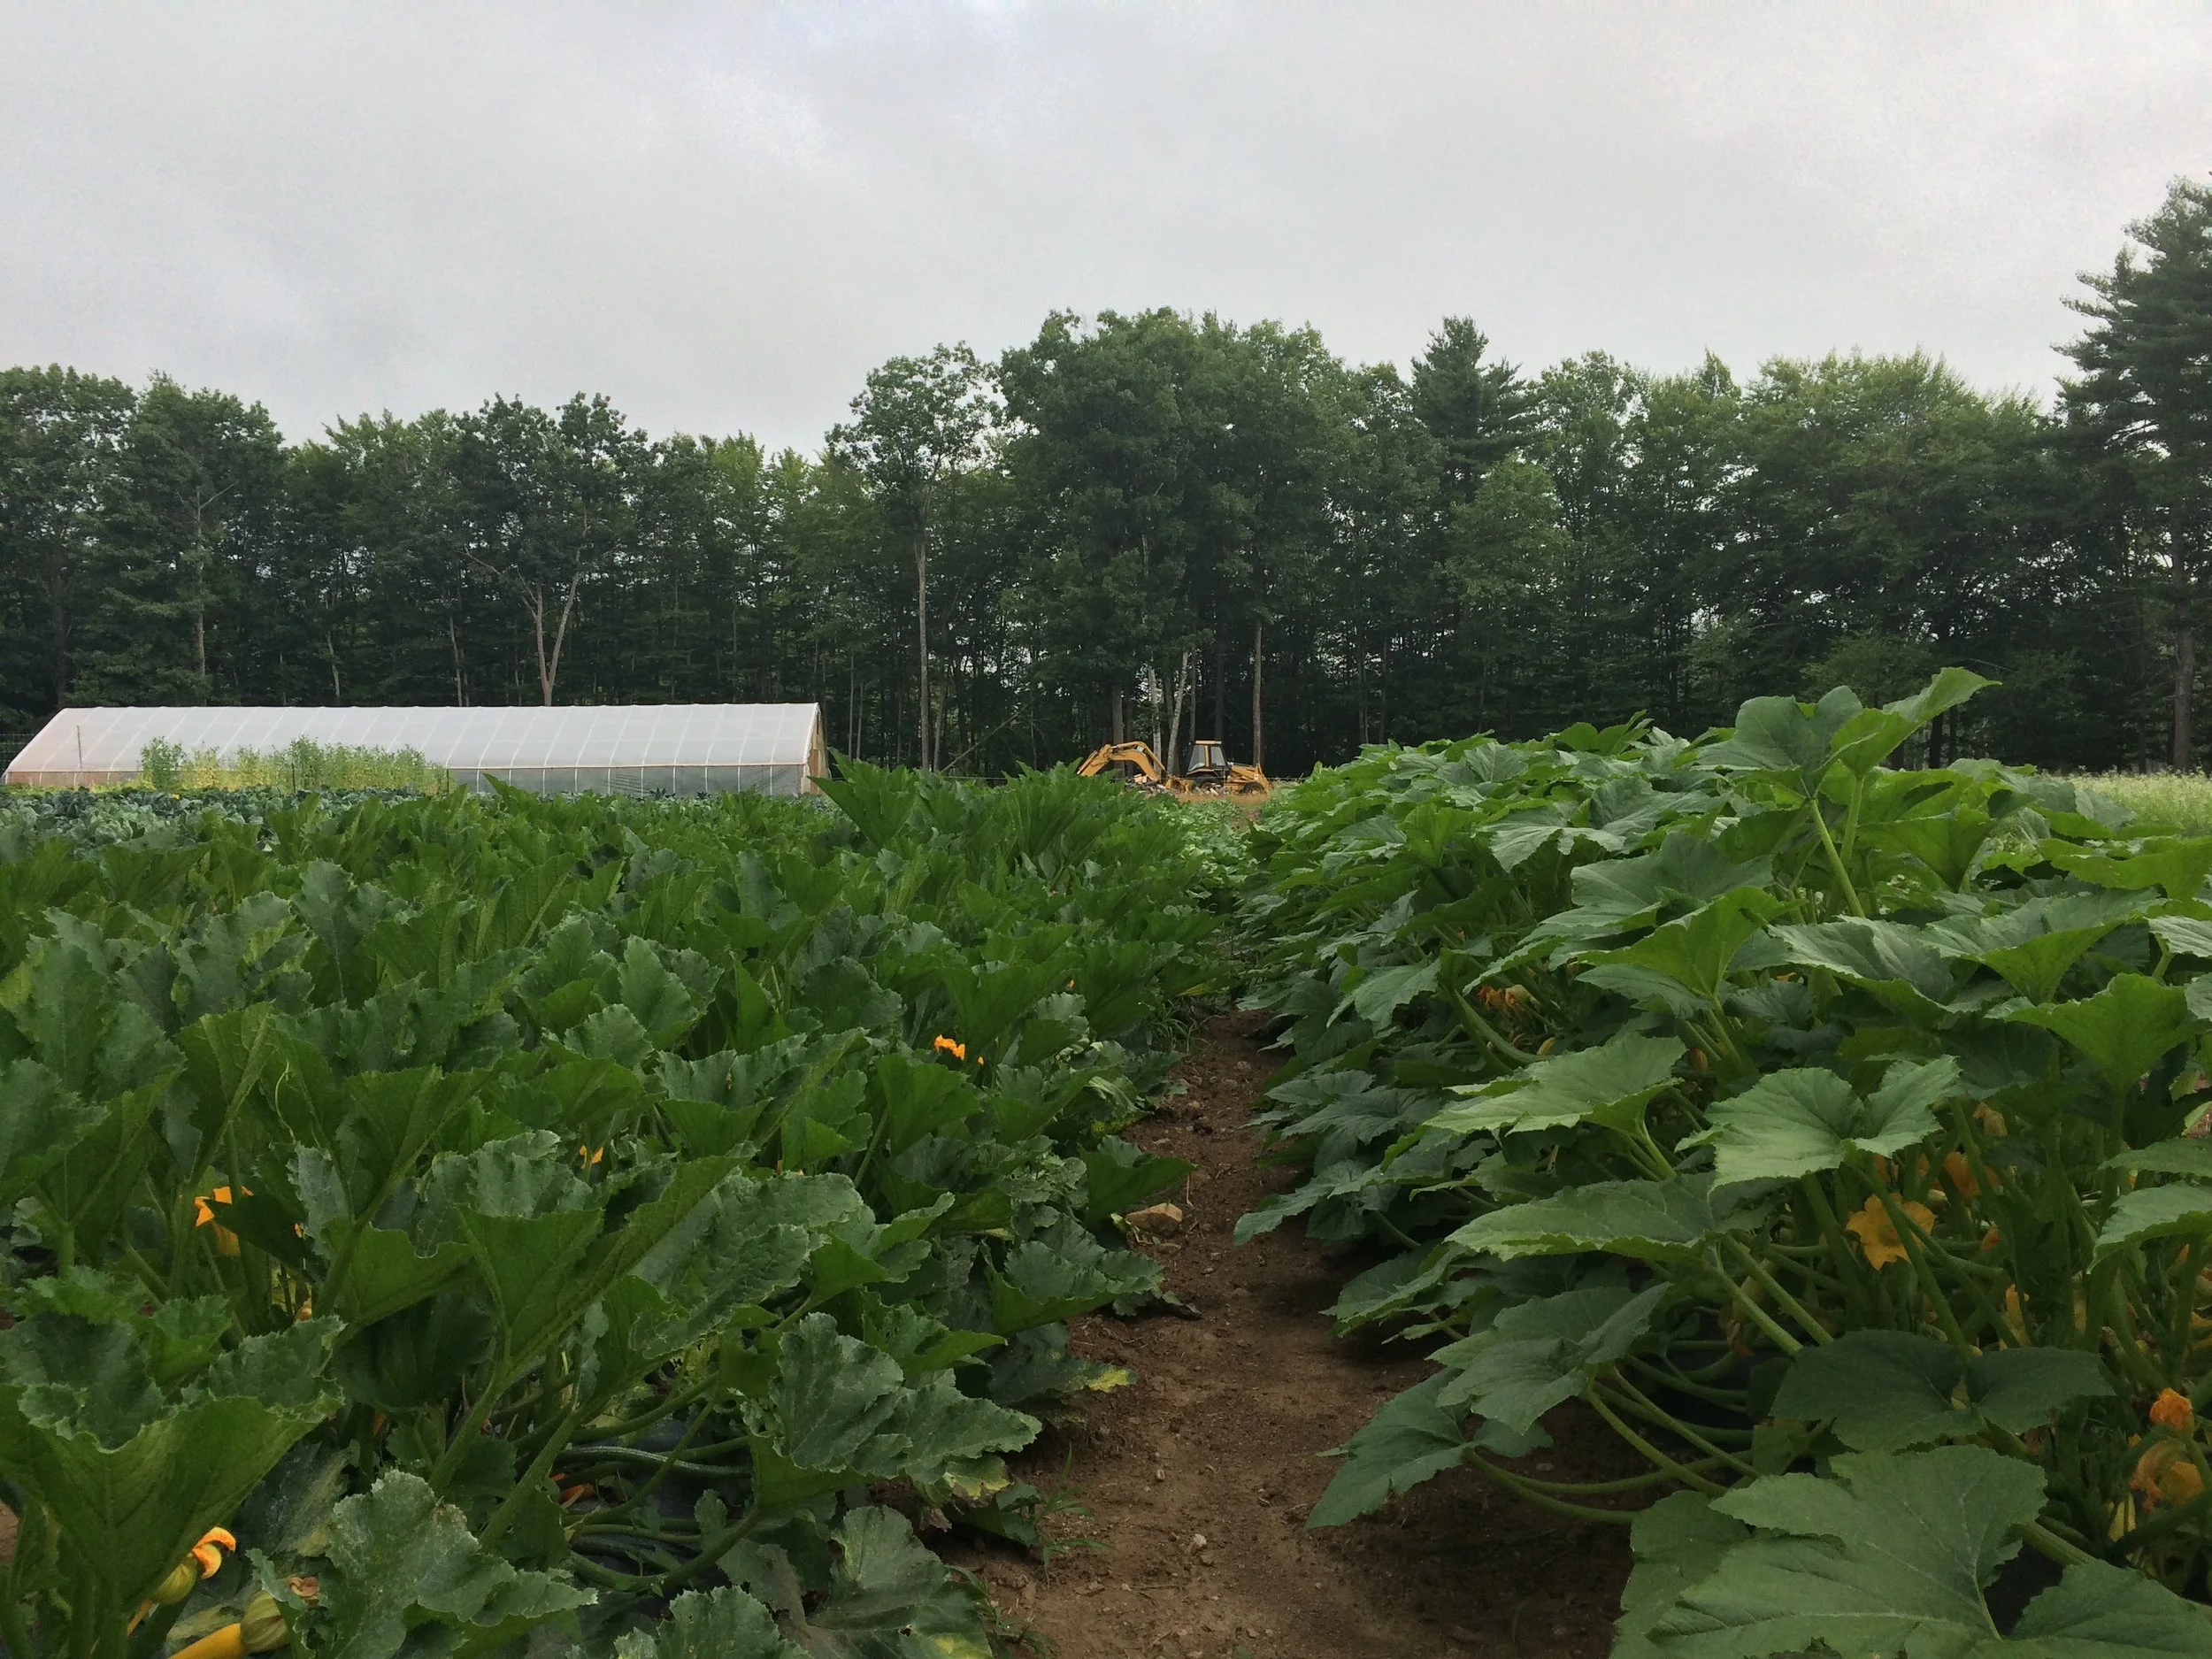
The sugar snap peas really outdid themselves this year. We seeded them in the garden on May 12th. They have produced peas in abundance and now stand over 7 feet tall, having easily outgrown our trellis system. Apparently the weather when the pea seeds germinate, not what we are experiencing currently, is what most influences their health and productivity. So we can look back and thank the cold wet spring for at least one big success this year. The peas are on their last legs now, so this will be the last time you see them in the share this summer. Really the more we read and experience, the more we learn that the temperatures during the start of a plant’s life is a big determining factor in its health and appearance later. Soil temperatures in particular, as opposed to air temperatures, are even more important in the beginning stages of the plant’s life. When we are starting plants in our seed house in early March, we use heat mats to warm the soil to around 70 degrees, where as the air temperature at night often falls to 40. The other big experiment on the farm currently is the use of a “Flame Weeder”. We have been trying to find a more perfect system for keeping the aisles between our plants weeded. For our first several years of farming we tried living aisles, where we seeded clover or some other kind of low growing green and used the weedwhacker to keep them to a manageable height. We have found our soil holds a irritatingly persistent supply of crabgrass seed that makes its grab on the land about this time every year, easily outgrowing and smothering the clover. The crabgrass quickly creeps sideways into the garden beds. Last year, we used our walk-behind tiller to cultivate the aisles, keeping them bare, often the strategy of larger farms, but with a tractor. This left us tilling more frequently than we would have liked, and much of the crab grass would re-root several days later. The flame weeder is a simple torch wand connected to a propane tank. We walk the aisles preferably when the weeds are small and heat them up to the point where the cells in the leaves expand and die, much like experiencing a frost. So far, so good, but check back for an update later.

In the share:

Cherry Tomatoes

Broccoli

Sugar Snap Peas (for the last time)

Green Beans

Red Fire lettuce

Summer Squash/Zucchini

Basil

Cucumbers

Purple Top Turnips

How to Freeze Green Beans

Before getting started wash the beans with cool tap water. Then, working with a small handful of green beans at a time, line up the stem ends. Using a sharp chef's knife, slice off the stems. Repeat with remaining green beans. If you want, you can also trim off the tapered tail ends.

Bring a large pot of water to boiling. Allow 1 gallon of water per pound of green beans. While you're waiting, fill a large bowl with ice water. Working in batches, carefully lower the green beans into the boiling water. Boil the beans for 2 minutes. Cool the beans quickly by plunging them into ice water. After the beans have cooled, drain them from the ice water.

Pack the drained beans into freezer containers, jars, or bags. Shake each bag or container to compact the beans. Add more beans, leave 1/2 inch headspace. If you're using containers, wipe the rims dry. Seal the bags or containers according to the manufacturer instructions, pressing out as much air as possible. If necessary, use freezer tape around the lid edges for a tight seal.

Braised Turnips in Mustard Cream Sauce

1 tablespoon butter

11/2 pounds turnips (preferably small turnips), peeled and cut into 3/4 inch cubes

2/3 cup chicken stock or vegetable stock

2 tablespoons heavy cream

1 tablespoon dijon mustard

2 tablespoons minced fresh chives

Salt

Freshly ground pepper


Melt the butter in a large saute pan. Add the turnips and cool, turning occasionally, over medium heat until lightly browned, about 8 minutes.

Add the stock and the cream. Cover the pan, reduce the heat, and simmer until the turnips are tender, about 15 to 20 minutes.

Remove the cover, raise the heat to high, and cook until the liquid in the pan reduces to a glaze, about 2 minutes. stir in the mustard and chives and season with salt and pepper to taste.

Serve immediately.

67356180_942781626061381_1309158576450699264_n[1].jpg

C.S.A. Week 4: July 17th/18th

C.S.A. Week 4: July 17th/18th

This week was a good example of the reality of the small organic farm, and the labor involved to get to those perfect lush rows.  We have been patrolling the squash plants for the past few weeks every morning for the striped cucumber beetle and squash bug, both of which inflict damage in different ways.  the striped cucumber beetle has a more immediate effect, chewing holes in the plants and leaves and transmitting a wilt virus that makes its way through the plants vascular system

Read More

C.S.A. Week 3: July 10th/11th

        Kohlrabi, from the German meaning ‘cabbage turnip,’ is one of my favorite vegetables. Of the brassica family, it is related to broccoli, cabbage, kale, collards, and brussels sprouts. The purple, green, or white stems grow an edible bulb with leaves similar to kale. After peeling the skin, kohlrabi can be chopped and eaten raw or cooked any way you like. It is often shaved and mixed as a slaw or cut into chips or fries and served as an appetizer with dip. The texture of the inner flesh is almost a cross between a broccoli stem and an apple or potato. The flavor is typically described as a mild broccoli, but a tad sweeter. The leaves are often substituted for kale, and the bulb can be stored in a Ziploc bag in the crisper of your refrigerator for weeks without spoiling. Kohlrabi is also said to have the highest concentration of vitamin C per calorie than any other vegetable. On top of everything it’s just a cool lookin’ plant that grows really well in our climate of cooler weather during the spring and fall.

In the share:

  • Kohlrabi

  • Green Onions

  • Sugar Snap Peas

  • Zucchini/Summer Squash

  • Romaine Lettuce

  • Bok Choi

Green Onion Cakes

  • 1 1/4 cups boiling water

  • 2 tablespoons vegetable oil

  • salt and pepper to taste

  • 1 bunch green onions, finely chopped

  • 2 teaspoons vegetable oil, or as needed

  • 3 cups bread flour

Use a fork to mix flour and boiling water in a large bowl. Knead dough into a ball. Cover bowl with plastic wrap; let dough rest for 30 to 60 minutes.

  1. Evenly divide dough into 16 pieces. Roll each piece into a 1/4 inch thick circle. Brush each circle with oil, season with salt and pepper, and sprinkle with about 1 teaspoon of green onions. Roll up, cigar style; coil each pancake and pinch open ends together to form a disc. Roll each circle flat to about 1/4 inch thickness.

  2. Heat 2 teaspoons oil in a large skillet. Fry cakes until golden brown, about 2 minutes on each side. Add more oil between batches, if necessary.

C.S.A. Week 2: July 3rd/4th

We had our monthly craft farm tour yesterday at the Hancock Family Farm. Familiar farmer faces, dogs running around, kids running around, farm-fresh food, homemade desserts, and good discussions about farming, the wet weather, and summer. Once a month we all gather and descend on a different farm for a quick tour followed by a potluck. It’s a great way for interns to experience another farm and learn something new while farmers catch up with one another. Farming can start to feel lonely at times once you’re in the thick of it. It’s always so refreshing to see friends, eat, and discuss struggles and yields. This tour was all about the wet spring we’ve had. The most common report from the other farmers was the slow start of the season, followed by successions of plants rotting in wet soil. Somehow, everyone seemed to be carrying on in spite, and looking forward to a summer full of warm weather and sunshine.

In the share:

Garlic Scapes

Sugar Snap Peas

Kale Mix

Baby Summer Squash/Zucchini

Purple Scallions

Bibb Lettuce

Swiss Chard

GARLIC SCAPE PESTO

1 bunch garlic scapes, cut into 2-inch pieces

  • 1/4 cups grated Parmesan cheese

  • 1/4 cup olive oil

  • 1 teaspoon lemon juice

  • ground black pepper to taste

Blend the garlic scapes, Parmesan cheese, olive oil, lemon juice, and pepper together in a food processor until smooth

C.S.A. Week 1: June 26th/27th

It’s been an unusually wet spring/early summer here in Maine. We are learning as famers that unusual is more usual than not, and we’re trying are best to just roll with it. Since being in Cornish, Maine for almost five growing seasons now, it seems observation and experience are the best ways to learn how the land reacts to changing weather conditions. Since our first summer season, the garden has expanded by what seems like leaps and bounds, and yet each area of the field behaves a little bit different. Some areas are sandy and require more compost, some are rocky, some are higher, some more wet, but none too perfect. We are always impressed by plants’ abilities to survive and even thrive in what seem like the most adverse conditions. They really do their best to live. Welcome to the first week of the full season summer C.S.A. The head lettuce in this week’s share comes from our friend Joanne at Mountain Heartbeet Farm, she called to tell us she was overflowing with beautiful greens and gifted this week’s lettuce to us for all you C.S.A. members to enjoy. Thank you Joanne!

In the share:

  • Head Lettuce

  • Spinach

  • Bok Choi

  • Radishes

  • Sugar Snap Peas

  • Beet Greens

We’ve done this recipe before, but is so good…

Radish Olive Crostini

From a book called Ripe by Cheryl Rule.

Makes about 18 toasts if using a half baguette

1/2-inch thick slices of French baguette
softened butter
1/4 to 1/2 cup Kalamata olives
1-2 bunches radishes, scrubbed, trimmed, and thinly sliced.
1 bunch fresh basil or thyme
zest of 1 lemon
sea salt and freshly ground black pepper
olive oil for drizzling

1. set the broiler rack 4 inches from the heating element.

2. Lay the bread slices on an ungreased baking sheet. Broil until the edges are just golden. Flip over and broil the other side for 30 seconds to 1 minute longer. Cool to room temperature.

3. Spread each crostini with butter and top with olives and radishes. Sprinkle basil leaves or thyme leaves, lemon zest, sea salt and pepper. Finish with a drizzle of olive oil.

April Newsletter

April 21st

The sounds of spring and summer have crept back in over the last month.  First the robins and the redwing blackbirds, then the geese, now the peepers in the thawed puddles and ponds, and soon the song birds and crickets will be chirping.  It’s amazing how quiet winter really is, we are reminded by this return of all the seasonal creatures.  The drenching rain turned everything magically green overnight, and for the first time we are feeling like summer is just around the corner.  The seedling house is overflowing with plants for the garden.  This week, with night temperatures above freezing, the onions and leeks will be moved outside to make room for the more tender plants inside.  We are busy transplanting seedlings up into bigger pots so their roots have more room to grow, and seeding large quantities of things like beets and summer greens into trays.  One of the first big outside projects before the garden is ready to work, is pruning and mulching the raspberries.  All of last years fruiting canes are dead and need to be removed to make room for the new shoots that will soon be poking out of the ground.  We then mulch the beds with wood chips to prevent weeds and feed the soil.  In the upcoming weeks, our fence will go up to keep deer out of the garden, and we will be watching for when the ground has dried out enough to start working the soil for planting. 

Summer C.S.A. starts in June, if you are interested or have questions please email or sign-up online at www.hosacfarm.com/csa

You can pickup at the Earle Family Farm in Conway, NH on Wednesdays 4-6pm

-or-

Hosac Farm in Cornish, ME on Thursdays from 4-6pm


`Natalie and Kyle @ Hosac Farm


March Newsletter

March 2019

 Despite the biting winds and still sub-zero nights, the sun sits higher and for longer in the sky now.  Spring is creeping closer.  We enjoy winter on the farm, although daily animal chores and snow removal are ever-present, the number of things requiring our regular attention drops to a more relaxing level, affording time for outdoor adventure and relaxing.  This year we were treated with multiple stretches of the most beautiful ice for skating on our pond.  Although it makes for a good skiing surface when covered with snow, there was something gleeful about traveling back and forth so quickly across its length on skates.

People often ask what we do to keep busy all winter, but really our break is relatively short.  The winter C.S.A. keeps us occupied with vegetable washing packing and sorting for the bi weekly distributions from November until the end of January.  This year we grew spinach and lettuce in our greenhouse for the share.  The greens really put on all or most of their growth by mid-November, and then went under multiple layers of soft fabric to keep them slightly more insulated from the cold, and to keep the frost from settling on them.  The fabric layers get pulled off daily when the sun is out even on the coldest of days to allow the greens to vent and to prevent condensation from building up on their fragile leafy surfaces. 

Now that we’ve had a break from tending to winter greens, we are cleaning out our seed starting house in preparation for onion and leek planting starting next week.  

Check out our Winter 2018-’19 farm video on our website’s blog page or the Earle Family Farm facebook page.  Stay posted for more to come…


~Hosac Farm Cornish, ME

CSA week 15

Well this is it! Our last week of the C.S.A. We’ve already begun shifting gears to our winter C.S.A. which brings its own set of challenges and rewards. We’d like to take the time, though, before we completely switch over, to thank all of our summer members for a wonderful season. Thank you for the support and the opportunity to provide you with fresh veggies each week. We appreciate all your enthusiasm for local organic produce. It certainly couldn’t be done without you! It was a great year and we wish all of you a good fall and winter as we look forward to planning next year’s crops. Many thanks again from Hosac and Earle Family Farm.

In this week’s share:

Broccoli 

Brussels Sprouts  

Leeks

Fennel

Eggplant

Romaine Lettuce

Bibb Lettuce

Chineese Cabbage

Butternut Squash

Optional item: Green Cabbage for Canning 


C.S.A. Week 14

 The seed catalogues start showing up sometime in December just as we are really getting into those long nights of winter and we begin dreaming about next year’s garden all over again.   We plant a fairly standard set of crops each year, things we know are generally reliable, but once in awhile we like to try something new, and all sorts of impossible things start to feel possible when flipping through the glossy paged seed catalogues with their tantalizing descriptions of exotic produce and plants.   Its hit or miss with these new things, as they usually are not totally appropriate for our growing climate, which is why they may seem so exotic and alluring. Sometimes we get lucky and what we try works out, this year, thanks to an extraordinary hot summer.  So now that's its cool we take back all that complaining we did in those 90+ degree days and feel excited about a successful sweet potato harvest. 

In the share:

Sweet Potatoes

Yellow Storage Onions

Romaine Lettuce

Beets

Celeriac

Kale

Carrots

Flowers


IMG_1949.JPG
IMG_1944.JPG

What to do with all this fall kale?  We have been having nightly servings of Kale chips with dinner. 

Baked Crispy Celeriac

 1 celeriac peeled, flesh cut into 2cm / 3/4 inch thick
2 tablespoons olive oil
1 clove garlic, minced
1/4 teaspoon sea salt flakes
1/4 teaspoon cracked black pepper

Prepare a big bowl of water with a splash of lime or lemon juice, or vinegar.
Peel celeriac, then chop into 1.5-2cm / 2/3-3/4 inch thick batons. Place the celeriac pieces into the bowl of acidulated water as you chop them, this keeps them fresh and happy.
When you're done with the chopping, drain and shake excess water off the celeriac in a colander.
Toss together the celeriac with olive oil, garlic, sea salt and cracked black pepper. Make sure it's well-mixed and that the celeriac is nicely coated - I like to give it a little massage as well to really rub the flavors in.
Bake at 425°F for 40 - 50 minutes. Give them a flip and a stir halfway through. The time they need in the oven may vary, but basically you want them lusciously golden with browning edges.
These celeriac chips will crisp up a bit more after you remove them from the oven and let them cool a little, so give them some time to do their thing.
Feel free to sprinkle a bit more salt and black pepper to taste.

Celeriac, Sweet Potato and Apple Hash

2 cups peeled and diced celeriac (celery root),
2 cups peeled and diced sweet potatoes (from 2 small sweet potatoes)
4 tablespoons coconut oil, or olive oil

1 yellow onion, peeled and diced
1 clove garlic, peeled and minced
2 medium apples, peeled and diced
3 sprigs rosemary, roughly chopped
¼ cup toasted pine nuts
Salt and pepper

Bring a medium pot of water to a boil, add 1 teaspoon sea salt. Add the diced celeriac and sweet potatoes and simmer for 5 minutes. In a colander drain well, and rinse with cool water to stop them from cooking. Let cool and drain for 10-15 minutes.

In a large cast iron skillet, heat 2 tablespoons of your oil over a medium-high heat. Add the onions and cook for about 2-3 minutes, until translucent and lightly golden. Add the remaining 2 tablespoons oil, garlic, diced apples, celeriac and sweet potatoes; season with salt and pepper. Give it all a mix and arrange evenly in the pan. Press it down and let it cook for 2-3 minutes, untouched. Then stir and press, continue allowing to cook a few minutes at a time, allowing the vegetables to get tender and everything starts to caramelize and brown, about 10-15 minutes. Remove from the heat and stir in the fresh rosemary and toasted pine nuts. Season with salt and pepper and serve as a side. Add a fried or poached egg, meat, fish, or plant-based protein alongside or on top, if you like.

C.S.A. Week 13

Things are in serious winding-down mode here. Many of the summer crops have been pulled and their vacant spots in the field are now filled with a healthy green looking layer of oats and rye that will protect the soil for the winter.  Our seedhouse has proved to be of evolving use through the year, as the last of the spring seedlings left, it had a short break before it was filled with fall greens, followed by squash for curing, then onions for drying, and the last of the tomatoes off the vine for ripening.  Today we bagged and weighed the onions, moving them to their more long term storage location in our basement so we could make room for the sweet potatoes to cure for a week.  The hot, sunny seedhouse with its fan/vents for airflow has proved a great place for fall curing of storage crops.  Many of what we are storing will be distributed during the winter C.S.A. which we are lucky to be a part of.  The winter C.S.A. is a farm cooperative started in 2013 while we were in our first year of interning on the Earle Family Farm.  The coop has grown to support about 100 members yearly with winter produce supplied by five different farms.  All of the farmers have roots going back to the Earle Family Farm. Check out the website!

www.foothillfarmalliance.com

In the share… 

Butternut Squash

Leeks

Carrots

Arugula

Mixed Kale

Potatoes

Kholrabi

Peppers


IMG_1925.JPG
IMG_1922.JPG
IMG_1916.JPG

Braised Leeks With Parmesan

But really you can use leeks however you would use onions….

 3 leeks

2 tablespoons extra virgin olive oil

Salt and freshly ground pepper

1/2 cup dry white wine, like sauvignon blanc

1 1/2 ounces Parmesan, freshly grated (1/3 cup)

Cut the ends and the dark green leaves of the leeks, and cut in half lengthwise. Place in a bowl of cold water for 10 minutes, then run under the faucet to remove any sand that may be lingering in between the layers. Peel off thick outer layers and discard.

2. Heat the olive oil over medium heat in a wide, heavy skillet that will accommodate all of the leeks in one layer. Place the leeks in the pan, cut side down, and cook, shaking the pan and moving them around with tongs, until they are lightly browned, 3 to 4 minutes. Using tongs, turn the leeks over and cook on the other side until they are lightly browned, 3 to 4 minutes. Season with salt and pepper. Turn the leeks back over so that the cut side is down. Peel off the outer layers if they are papery, as they will not soften when the leeks are braised. Pour in the wine and stir to deglaze the bottom of the pan, then add enough water or stock to come just to the top of the leeks. Bring to a boil, reduce the heat and simmer uncovered for 20 to 25 minutes, until the leeks are thoroughly tender when pierced with a knife. Most of the liquid should have evaporated by this time. Meanwhile, preheat the broiler.

3. Transfer the leeks to an oiled ovenproof pan if your skillet cannot go under the broiler. Using tongs, turn the leeks so that the flat side is up. If there is still a lot of liquid in the pan, pour it off. Sprinkle the Parmesan over the leeks. Place under the hot broiler until the cheese has melted and is beginning to color. Remove from the heat and serve.

Shaved Kohlrabi and Arugula Salad

2 medium heads garlic

 1 teaspoon finely grated lemon zest, plus 3 tablespoons fresh lemon juice

 1/2 teaspoon pimenton picante (hot Spanish smoked paprika)

 1 teaspoon Dijon mustard

Coarse salt

3 tablespoons extra-virgin olive oil

2 medium or 1 large kohlrabi (1 pound), trimmed

1 1/2 cups arugula, trimmed

1 ounce toasted sliced almonds (1/4 cup)

1.    Preheat oven to 400 degrees. Remove 1 garlic clove from 1 head, and very finely grate, setting aside 1/8 teaspoon. Wrap remaining heads of garlic in foil, and roast until very soft and golden inside, about 1 hour. Unwrap; let cool.

2.   Meanwhile, whisk together grated garlic, lemon zest and juice, paprika, mustard, 1/2 teaspoon salt, and 1 teaspoon water in a small bowl. Squeeze roasted garlic from skins, and add 2 tablespoons to bowl, reserving remainder for another use. Stir to combine but leave very chunky. Stir in oil (do not completely incorporate).

3. Shave kohlrabi very thinly . Divide among serving plates and season with 1/2 teaspoon salt. Spoon dressing over kohlrabi, then top with arugula leaves and almonds.

C.S.A. Week 12

The farm by nature is very cyclical, following along with the course of the seasons. In a way it’s comforting to know at every stage we are at, just around the corner we will be forced to shift gears even if ever so slightly to keep pace with the changing weather. September brings the big job of pulling out all of our greenhouse tomato plants to be replaced with greens for winter. The tomatoes had reached the upmost tiers of the tunnel and spread their branches wide, overlaid with one another. When the tomatoes are first planted we commit to weekly pruning and trellising, trying to tame them into some kind of reasonable shape. By mid-July they’ve gotten too tall and our motivation to prune them as well as harvest has faltered. The farm gives us great visual pleasure with its cycles, tiny green fragile plants quickly become a towering green jungle, then suddenly they are gone in a limp heap on our compost pile and the greenhouse looks briefly vast and brown soon to be covered by a thick green matt of spinach and lettuce, the only color in a white winter world. 


In the share: 

Delicata Squash

Eggplant

Tomatoes

Bibb Lettuce

Celery

Brussels Sprouts

Beets

Bok Choi

IMG_1758.JPG

May

IMG_1799.JPG

July

 Maple Roasted Delicata Squash

1 Large Delicata Squash halved lengthwise and seeds scooped out. 

  1. 1 medium red onion, halved lengthwise and cut into 1/2-inch rings

  2. 3 garlic cloves, peeled and smashed

  3. 2 fresh thyme sprigs

  4. 1/4 teaspoon red-pepper flakes

  5. 2 tablespoons extra-virgin olive oil

  6. 1 tablespoons maple syrup

  7. Kosher salt

  8. freshly ground black pepper

Arrange the racks in the upper and lower rungs in the oven and preheat the oven to 425°F degrees. Place the squash, red onion, garlic, thyme, and red pepper flakes in a large bowl. Drizzle with olive oil and maple syrup, and sprinkle generously with salt and pepper; toss to coat.

   Spread vegetables evenly onto two large, rimmed baking sheets. Bake the squash on the upper and lower racks of the oven, tossing, rotating, and switching the pan positions half way through cooking, until tender and browned, 25 to 30 minutes. Taste and season again with more salt and pepper, if desired. You can eat the skin of the squash. 

C.S.A. Week 11

A relatively long reminder email this week is replacing farm news! 


Butternut Squash  

Carrots

Arugula

Colored Peppers

Tomatoes

Fennel

Swiss Chard

Garlic

CARMELIZED BUTTERNUT SQUASH

  • 1 Butternut Squash
  • 6 -8 tablespoons unsalted butter, melted and cooled
  • 1⁄4 cup light brown sugar, packed
  • 1 1⁄2 teaspoons kosher salt
  • 1⁄2-1 teaspoon fresh ground black pepper
  1. Preheat the oven to 400°F.
  2. Cut off the ends of each butternut squash and discard.
  3. Peel the squash and cut in half lengthwise.
  4. Using a spoon, remove the seeds.
  5. Cut the squash into 1 1/4" to 1 1/2" cubes (large and uniform is best), and place them on a baking sheet.
  6. Add the melted butter, brown sugar, salt and pepper.
  7. With clean hands, toss all of the ingredients together and spread out in a single layer on the baking sheet.
  8. Roast for 45 minutes to 55 minutes, until the squash is tender and the glaze begins to caramelize.
  9. Turn the squash while roasting a few times with a spatula to be sure it browns evenly.
  10. Adjust seasonings if needed.


C.S.A. Week 10

One of our great pleasures on the farm is our flowers.  They serve no other known purpose than to make us and the bees happy. When it comes to flowers, we try to save our own seeds and bulbs as much as we can. Last year we saved all our zinnia seeds and carefully kept the different color flower heads in separate envelopes for storage. We seeded them into trays this spring, making sure to label them by color, so as to plant out our gardens with the proper color scheme for the summer. We planted the profusion zinnias in a red, orange, yellow, white pattern in the front row of the garden in front of our house. As they began flowering in July, however, we quickly noticed a change in the pattern from what we thought we had planted. They are all orange! So much effort being organized and all for naught. It seems the orange colored flowers were dominant in the cross-pollination. The favorite plant this year is the mighty Castor Bean.  See below for a picture.  The castor bean is a tropical plant, and also the origin of castor oil.  The bean/seed itself is very poisonous, but the plant makes for a dramatic garden display, about 8 feet tall and growing.  The scarlet runner bean is another favorite ornamental of ours.  It is a pole bean and will happily climb any supporting trellis.  The plant does produce beans that can be harvested as a dry crop, but we enjoy them for their shade properties, and their tiny orange flowers that attract humming birds. 

In this weeks share:

  • Cipollini Onions
  • Edamame
  • Lima Beans
  • Elderberries (eggplant for Cornish pick-up)
  • Beets
  • Lettuce
  • Tomatoes
  • Basil


IMG_1903.JPG
IMG_1901.JPG

Elderberry Syrup (Use on anything you would normally put syrup on)

-1 cup elderberries

-1/2 cup honey

-1 cinnamon stick

-1 garlic clove (optional for spice)

-1 teaspoon minced ginger root

  1. Place elderberries, water, cinnamon stick, cloves, and ginger in a saucepan over medium heat. Bring to a boil, reduce heat to low, and simmer for 30 minutes. Use a potato masher to mash berries to release juice; strain the mixture through a fine sieve, retaining juice and discarding the pulp. Let juice cool.
  2. Stir in honey until thoroughly combined and transfer to a lidded jar. Keeps in refrigerator 2 to 3 months.


C.S.A. Week 9

As part of the winter cooperative group we participate in, the Foothill Farm Alliance, we take once monthly tours or so of all the participating farms.  Its always an interesting and valuable excursion.  We get to see how other farmers are doing things, ask questions, laugh, and eat good food.  At this month's tour the discussion revolved around scaling up versus scaling down in direct correlation to available farm labor.  Many small farms rely on interns to meet their work needs.  From an intern's perspective, it's a great way to learn and experience farm life, but you have to be up for hard work with long hours and low pay.  We are in a position of growth, and trying to find the right size operation that works for us.  At the end of the tour discussion, someone talked about finding the intersection between "head" and "heart", often it's never where you think it'll be, and involves a lot of letting go.  All worth pondering. 

In the share

  • Sweet Corn (From Earle Family Farm)
  • Eggplant
  • Green Beans
  • Edamame Beans
  • Colored Peppers
  • Assorted Tomatoes
  • Celery
  • Russian Kale

How to Cook Edamame

  • Bring a pot of water or lightly salted water to boiling. Add the pods and return the water to boiling; boil pods about 3 minutes. Do not overcook them or they will get mushy.
  • Drain the beans; cool them under cold running water or immerse them in ice water to stop the cooking.
  • To shell the beans, gently squeeze the pods with your fingers to release them. Or have fun putting the pods in your mouth and popping the beans out of their skins.
  • Some people serve edamame cold and will refrigerate the cooked beans for an hour or two after cooking.

Roast Edamame

Ingredients

  • 2 teaspoons olive oil or 2 teaspoons vegetable oil
  • 1⁄4 teaspoon dried basil, crushed
  • 1⁄2 teaspoon chili powder
  • 1⁄4 teaspoon onion salt
  • 1⁄4 teaspoon ground cumin
  • 1⁄8 teaspoon paprika
  • 1⁄8 teaspoon black pepper
  • 1 (10 ounce) Fresh edamame
  1. Preheat oven to 375°F.
  2. In small bowl, stir together oil, basil, chili powder, onion salt, cumin, paprika and black pepper.
  3. Drizzle mixture over soybeans and toss to coat well.
  4. Arrange beans in a single layer in a shallow baking dish.
  5. Roast, uncovered, for 12 to 15 minutes, stirring once, until soybeans begin to brown.
  6. Serve hot as a vegetable side dish or cooled as a snack

Celery Salad

  • ¾ cup celery (sliced)
  • ⅓ cup dried sweet cherries
  • ⅓ cup edamame cooked
  • 3 tablespoon fresh parsley (chopped)
  • 1 tablespoon pecans (chopped, toasted)
  • 1 ½ tablespoons mayonnaise
  • 1 ½ tablespoons plain low-fat yogurt
  • 1 ½ teaspoons fresh lemon juice
  • ⅛ teaspoon salt
  • ⅛ teaspoon black pepper (ground)

Combine ingredients for a cold salad. 

C.S.A. Week 8

We are in our fourth growing season here and are finally, seriously, looking into purchasing a tractor.  Up to this point we have gotten by with a walk-behind Troy-Bilt roto-tiller.  It owes us absolutely nothing, but is starting to be too small for the job at hand, and slowly falling apart.  Its a chore to break ground with the walk behind to say the least, long hours with lots of passes back and forth to break up the sod.  Now that our ground is broken, a tractor would open up options for different implements that would take better long term care of the soil.  We are particularly interested in a spader.  The spader digs vertically with shovel like paddles instead of flipping and pulverizing the soil like a tiller does.  The idea is that the soil is alive and acquires a vertical structure made up of root hairs, bacteria, microbes, and much more.  When we till, we are breaking all this goodness apart for the sake of an easily prepared garden bed. A spader would protect the soil structure much better than a tiller which is why we are so interested in purchasing one. Spading implements, however, are not very popular here in America and have proven to be difficult to find. They are only made in Europe and are widely used over there. While there is still plenty of leg-work to do here on the farm, spaders and powerful machines are on the mind...

In this weeks share:

  • Sweet Corn-from Hancock Family Farm
  • Cipollini Onions
  • Bok Choy
  • Carrots
  • Sweet Peppers
  • Green Cabbage
  • Parsley
  • Assorted Tomatoes

Balsamic Glazed Cipollini Onions

  • 2 tablespoons olive oil
  • 3 Cipollini onions, trimmed and peeled
  • Coarse salt and freshly ground pepper
  • 2 tablespoons balsamic vinegar
  • 2 teaspoons sugar
  • 3/4 cup store-bought low-sodium chicken broth or stock
  • 3 sprigs fresh thyme
  • 2 cloves garlic, crushed

Preheat oven to 400 degrees.  Heat olive oil in an ovenproof skillet over medium heat.  Add onions stem side down and cook until lightly browned.  Flip and repeat onions on other side.  Season with salt and pepper.  Add vinegar and sugar and cook until slightly syrupy.  Add chicken broth and garlic and thyme, bring to a boil.  Transfer to oven and roast until onions are easily pierced with a sharp knife (15-20 minutes). 

GREEN CABBAGE AND CARROT SLAW

Ingredients

Coleslaw

  • 2 cups finely sliced purple cabbage (one small cabbage will be more than plenty)
  • 2 cups finely sliced green cabbage (one small cabbage will be more than plenty)
  • 2 cups shredded carrots (I used store-bought shredded organic carrots, but you could also grate them on a box grater, in a food processor, or julienne the carrots with a sharp knife)
  • ¼ cup chopped fresh parsley
  • Up to ¾ cup mixed seeds (I used mostly pepitas—AKA green pumpkin seeds—and sunflower seeds, with some sesame seeds and poppy seeds)

Lemon dressing

  • ¼ cup olive oil
  • 2 to 3 tablespoons lemon juice, to taste
  • 1 clove garlic, pressed or minced
  • ½ teaspoon ground cumin
  • ½ teaspoon salt
  1. In a medium serving bowl, combine the prepared purple and green cabbage, carrots and parsley. Set aside.
  2. Measure out your seeds into a small skillet. Toast over medium heat, stirring frequently, until the seeds are fragrant and the pepitas are starting to make little popping noises. Pour the toasted seeds into the mixing bowl and toss to combine.
  3. To make the dressing, in a small bowl, combine the olive oil with 2 tablespoons lemon juice. Add the garlic, cumin and salt and whisk until thoroughly blended.
  4. Drizzle the dressing over the slaw and toss until all of the ingredients are lightly coated in dressing. Taste and add an additional tablespoon of lemon juice if the slaw needs a little more zip. Serve immediately or cover and refrigerate to marinate for up to several hours.


C.S.A. Week 7

Heading into mid summer, our days are slowly starting to reflect reaching the backend of the growing season.  Time spent planting and weeding is decreasing, replaced by mowing and weed whacking, trying our best to rein in the wild summer growth.  It feels like just as we are starting to feel tired of one repetitive task, the season shifts, and we are on to the next...  Some long beds of spring plants were pulled this week, replaced by oats that will fill in and protect the bare soil through the fall and winter.  Even though we don't harvest the oats, there is something very satisfying in watching them pop up with little green shoots, and quickly thicken as they grow until they are a waist-high lush carpet. 


In this weeks share:

  • Chinese Cabbage
    • Round Tomatoes
    • Cherry Tomatoes
    • New Potatoes
    • Sweet Basil
    • Speckled Amish Bibb Lettuce
    • Green Beans
    • Summer Squash/Zucchini

HOW TO FREEZE GREEN BEANS

Use a paring knife to snip the ends off the beans. If the green beans have any bug spots or bruises, you can cut them out with the paring knife.

Cut the beans to the length that you prefer. You can leave them whole, or you can cut the beans into pieces about one-inch long.

Put a large pot of water on to boil. Leave room in the pot for the beans. 

Fill a second large pan or bowl with ice cubes and water.

Blanch the beans in the boiling water for 3 minutes. This process removes enzymes that break down the quality of the beans.

Transfer the green beans to the cold water. Use a slotted spoon to move the beans from one pot to the other. Leave the beans in the ice bath for 3 minutes. 

Drain and Dry the beans.  It's important to get as much moisture as possible off the beans. Otherwise, they may have ice crystals form on them in the freezer, which can cause the flavor to deteriorate.

Put the beans in freezer bags, removing as much air as possible.  Close the bag almost all the way and then use a straw to help remove any remaining air. DONE!   


ROASTED NAPA CABBAGE

  • 6 tablespoons vegetable oil
  • 2 garlic cloves crushed
  • 6 cups napa cabbage, roughly shredded
  • salt and pepper to taste
  1. Heat the oil in a skillet on low; add the garlic cloves and cook very gently for 15 minutes. Toss the cabbage with the oil, salt and pepper.
  2. Preheat your oven to 450°.
  3. Place the cabbage on a baking sheet and bake for about 15 minutes or until the tops of the cabbage pieces are browned.
  4. Serve hot.


NAPA CABBAGE ROLLS


Ingredients:

  • 1 lb lean ground beef or ground turkey
  • 2 carrots, shredded
  • 1 cup cooked brown rice or quinoa
  • 4-5 garlic cloves, minced
  • 2 tablespoons ginger, minced
  • 1 small onion, minced
  • 3 tablespoons low sodium soy sauce
  • 2 tablespoons toasted sesame oil
  • 2 teaspoons Nakano rice vinegar
  • 1 teaspoon chili or chili-garlic sauce (found in the Asian section of your grocery store)
  • salt and pepper, to taste
  • leaves from 1 large head of Napa cabbage

Directions:

  1. Preheat your oven to 400 degrees.
  2. Prepare your filling by gently combining uncooked beef (or turkey), shredded carrots, cooked rice (or quinoa), garlic, ginger, onion, soy sauce, sesame oil, rice vinegar, chili sauce and a pinch of salt and black pepper in a large mixing bowl.
  3. To make your leaves easy to roll, use a rolling pin to flatten to make leaves more pliable. If you find that your leaves are on the smaller side, use two to roll, overlapping both ends to make one big leaf.
  4. Spoon your filling to each leaf. Carefully roll each leaf tightly and place side by side in a large baking dish. Pour 1 cup of water over stuffed cabbage rolls and cover with aluminum foil. Bake in preheated oven for about 30-35 minutes or until completely cooked through.
  5. Serve with juices from baking dish and additional chili sauce.


IMG_1867.JPG

C.S.A. Week 6

We are, as of today, officially a MOFGA Certified Organic Farm.  The certification has been an interesting process.  We decided to apply for certification this year for a number of reasons, one of them being; ease  of communication as to what our growing methods are.  Currently the term organic is the best way to effectively tell people about how we manage the farm.  Becoming MOFGA Certified begins with a fairly lengthy application that details a three-year field input history, and a current crop management plan.  We also pay an upfront fee determined by gross farm income.  MOFGA reviews the application, responds with any questions and/or requirements before they send out a contracted inspector.  One of the requirements before our inspection was that we have our well water(the water we use for washing produce) tested, and the results reported(the water test came back clean and safe).  The inspection lasted about two hours was spent walking the gardens and going over our growing records and management plans.  

In this weeks share:

  • Heirloom Tomatoes
  • Cherry Tomatoes
  • Romaine/Crisp Lettuce
  • Curly Kale
  • Boro Beets
  • Eggplant
  • Sweet Corn (from Pine Root Farm)
  • Round Radishes
  • Green Beans

GRILLED VEGETABLE BURRITOS

  • 1 red sweet pepper, quartered and seeded
  • ½ small eggplant, cut crosswise into ½-inch thick slices
  • 1 medium zucchini, trimmed and halved lengthwise
  • 1 Portobello mushroom, stem removed (about 5 ounces)
  • Nonstick cooking spray
  • 2 cloves garlic, minced
  • ⅛ teaspoon ground black pepper
  • 4, 7 to 8-inch whole-grain tortillas
  • 1 cup shredded Cheddar cheese
  • 1 cup chopped fresh tomato (optional)
  • 1 avocado, halved, pitted, peeled and chopped (optional)
  • 2 tablespoons sour cream (optional)
  1. To prepare Grilled Vegetable Burritos: Lightly coat sweet pepper, eggplant, zucchini, and mushroom with cooking spray. For a charcoal grill, place vegetables on the rack of an uncovered grill directly over medium-hot coals. Grill for 3 minutes; turn vegetables. Grill 3 to 5 minutes more or until vegetables are crisp- tender. (For a gas grill, preheat grill. Reduce heat to medium. Place vegetables on grill rack over heat; cover and grill as above.) Remove vegetables from grill; cool slightly.
  2. Coarsely chop vegetables. In a medium bowl toss together chopped vegetables, garlic, and pepper. Divide vegetables among tortillas, placing vegetables just below center and to within 1 inch of the edge. Sprinkle vegetables with cheese. Fold bottom edge of each tortilla up and over filling. Fold opposite sides in over filling. Roll up from the bottom.
  3. Return filled tortillas to grill rack. Grill for 1 minute; turn and grill 1 to 2 minutes more or until tortillas are lightly browned. Serve with tomato (if using), Cilantro Pesto and if desired, avocado and sour cream.


IMG_1839.JPG